Main menu
You are here
Hand-planed moldings
Tue, 04/12/2007 - 12:50 — Pekka Huhta
My house is built 1919 from recycled components,
apparently taken from a bigger house somewhere. For my bathroom project
I decided to add a few new profiles in addition to the vast amount of
old recycled moldings I have scattered all over the house. Just for the
fun of doing it, and perhaps to prove my dear wife that there really is
a point in collecting all of those planes.
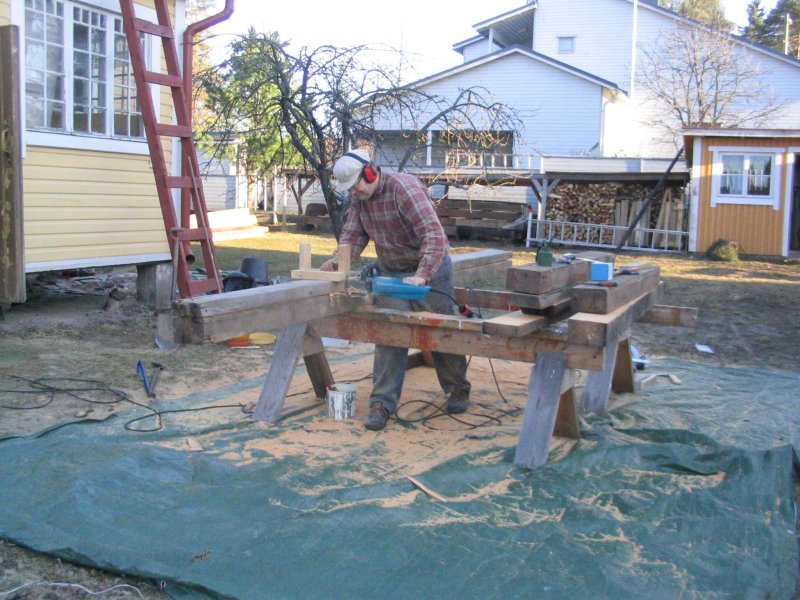
It is pretty difficult to get good enough timber anywhere, but I had some old roof beams available (you’ll see some more on the background). Cutting the planks with a chainsaw only proved to be too slow, so I run two cuts with a circular saw on both sides of the log and did the rest with the chainsaw. Apparently the chainsaw mills are better for green wood; this stuff was too hard for a 2000W Makita.

First I made one practice piece but wasn’t happy with it. It also involved repairing a molding plane. Time and effort was lost, but it’s better to try on a small scale. Practicing is also good for finding out the proper tools: it took 14 individual planes for the first try and only 7 for the final product.
The second try was better.
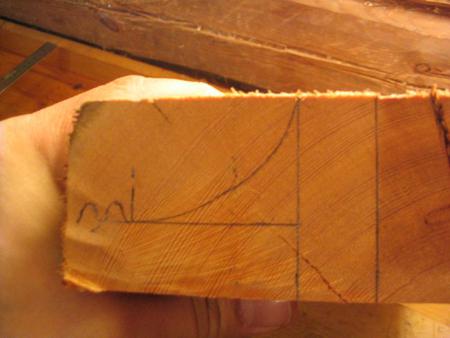
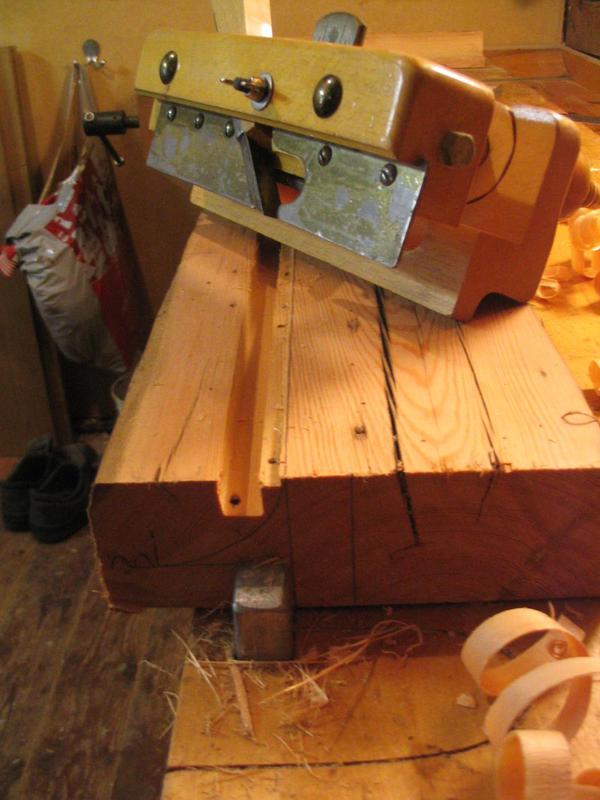
A plow plane was used to reach the profile...
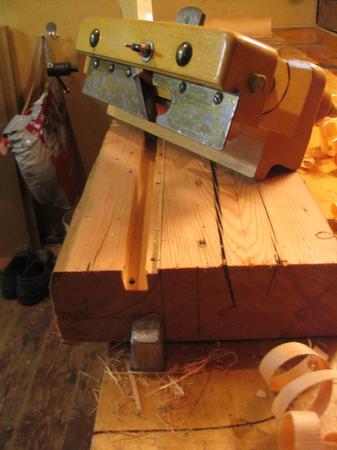
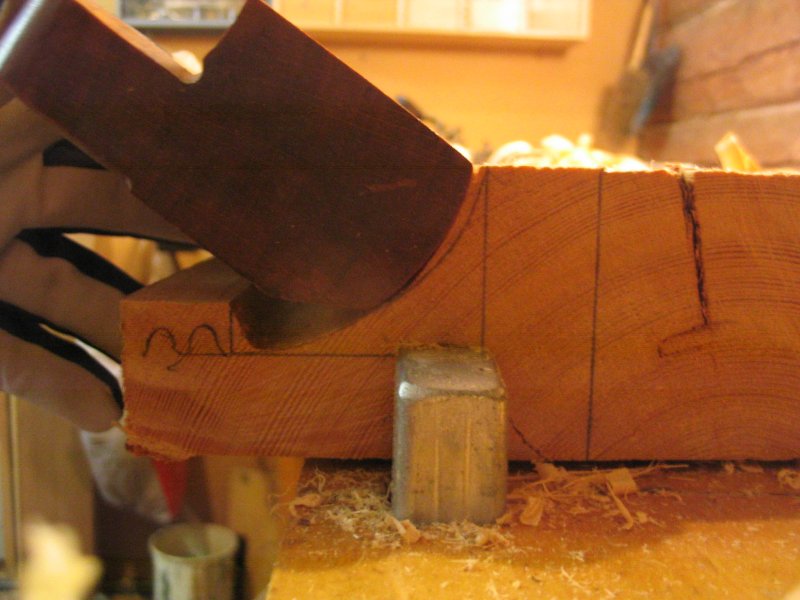
...and a wooden scrub to remove the excess.

A few passes more and we are close.
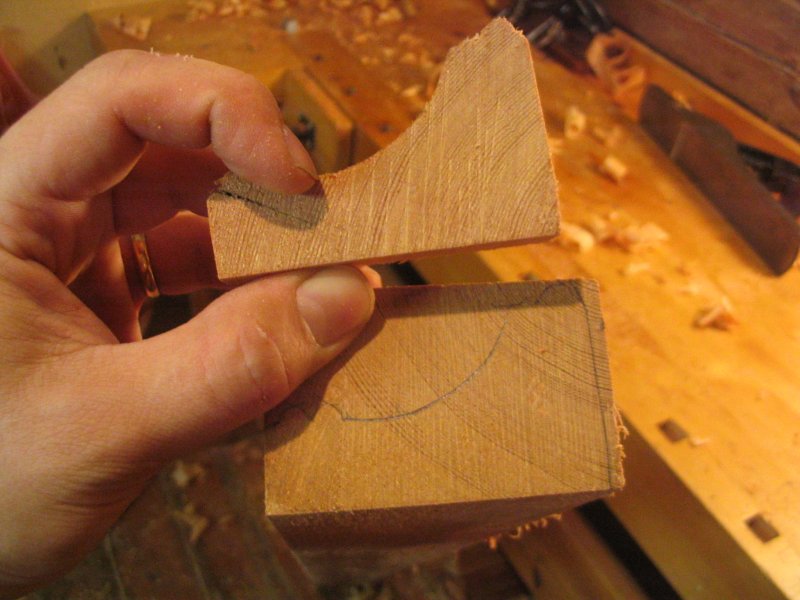
The curve comes with an appropriate round. I noted that although the form was OK for this plane, it was easy to smooth planing marks out with one number smaller round.

Instead of the original triple bead or reed I ended up with a double bead planed with a #45 combi.

The bottom of the molding was finished with a very small round and chamfered.
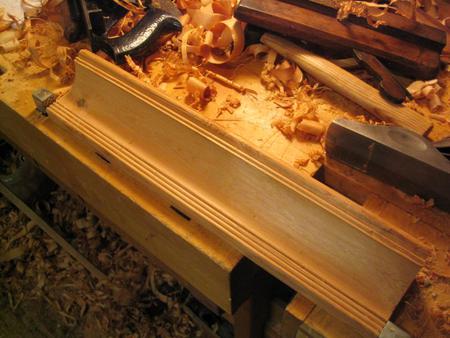
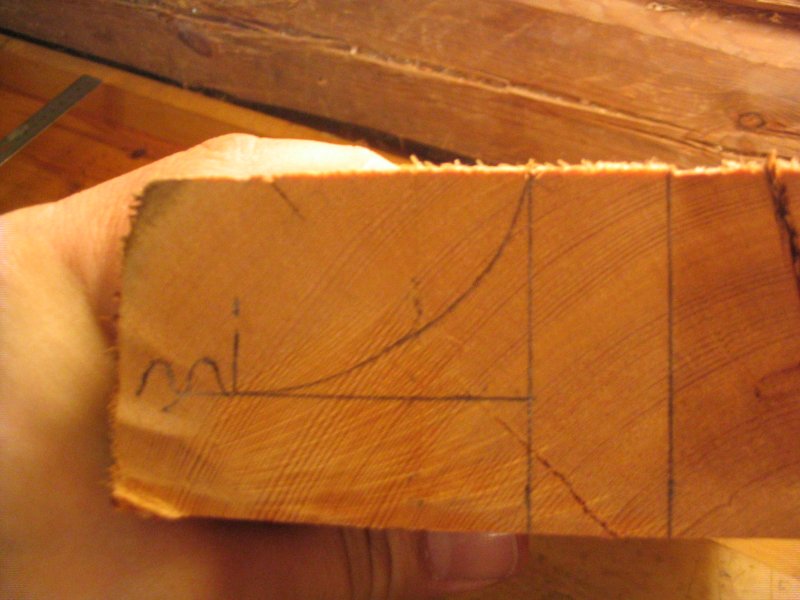
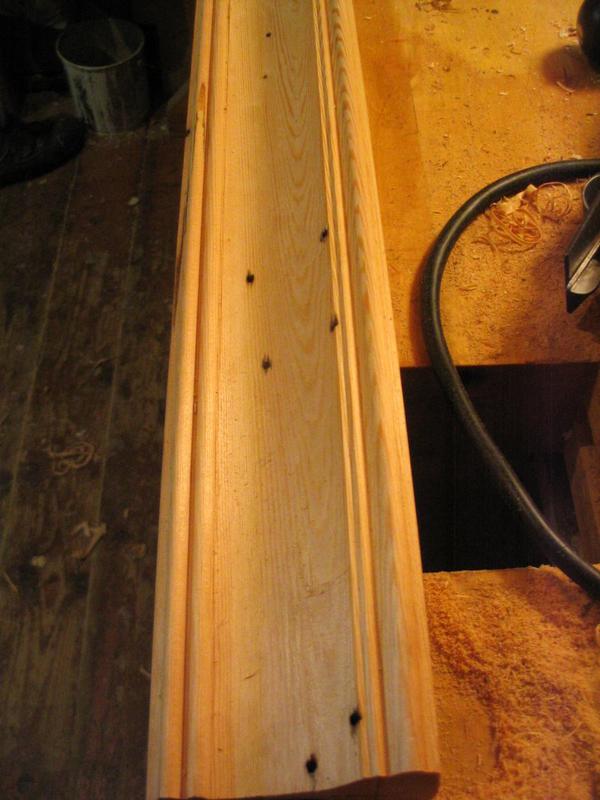
The finished test piece and the profile copied to the end of the first ”production model”. I cut a sample for the final molding in the middle of the test piece. About a foot from the end of the molding is always a bit different no matter how hard you try.

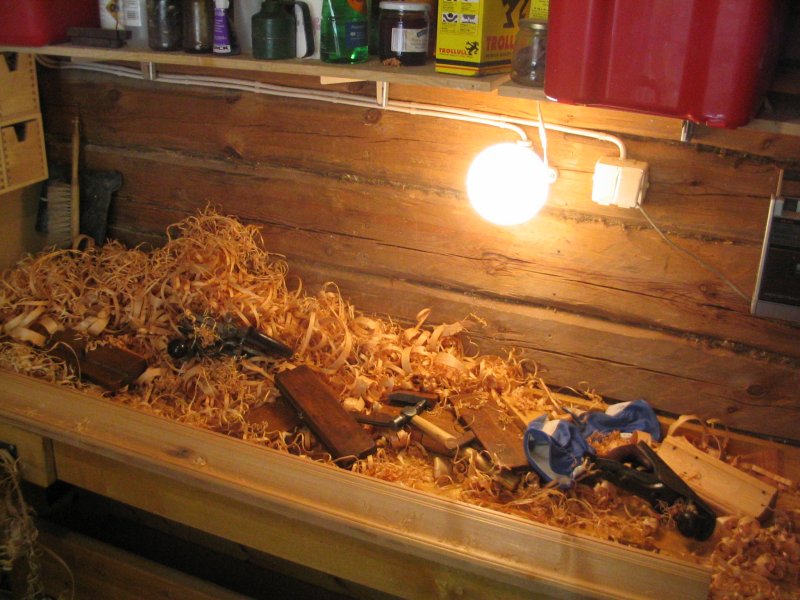
The first actual molding. I’m glad that I have two woodburning stoves in the house, I would be in trouble with all those shavings.

For mass production I used a circular saw, thought that I had enough practice with the plow already.
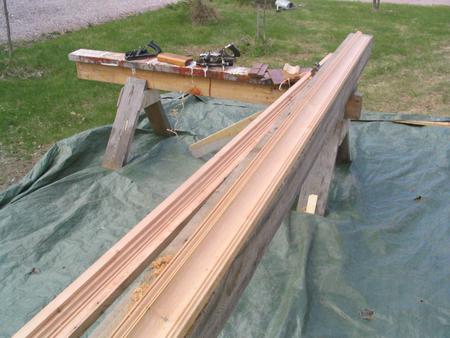
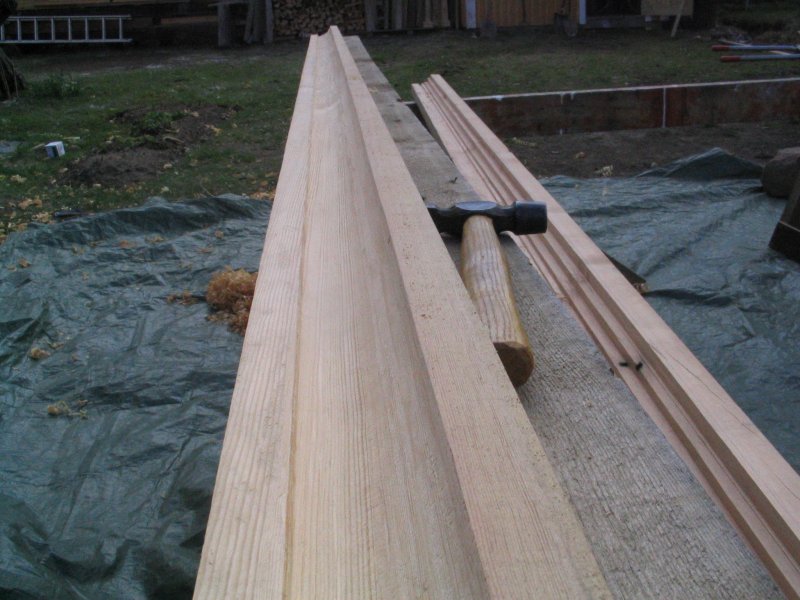
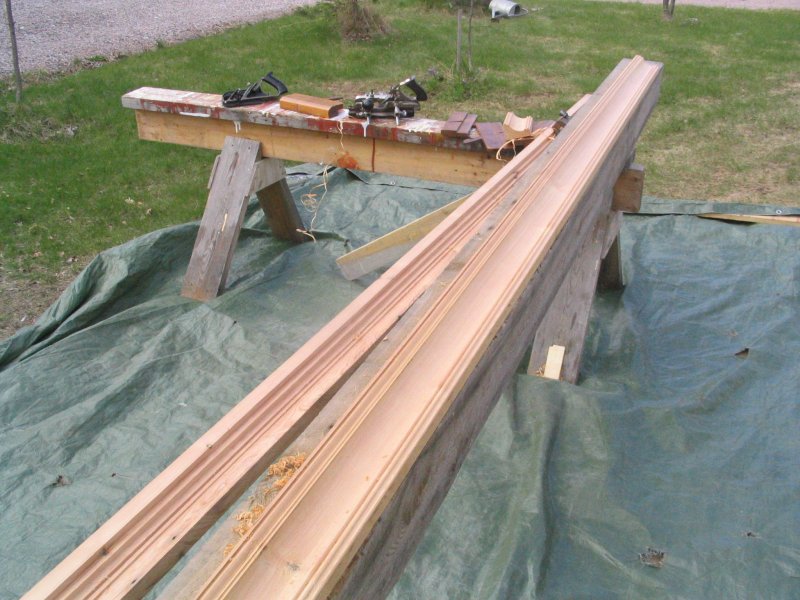
As my workshop is only about 8 feet across, I had to move outside for the longer pieces. I screwed a 6” beam to my build stands and screwed the moldings to that. As the ends of the moldings are more or less useless anyway, a few screw holes don’t matter and it’s much faster than fussing with clamps.
The round went up very nicely and the final molding was just as pretty as the previous, although I had my doubts that it might look a bit different because of the change from plow plane to circular saw.
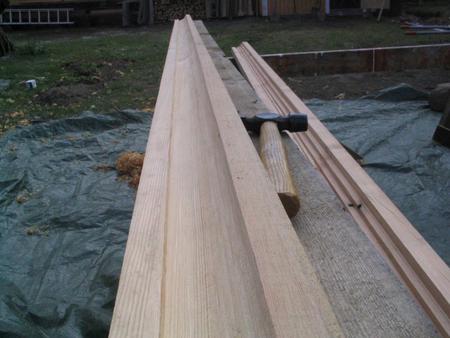
There are only a few tricks in it. First is always stock selection. If there are any knots on the stock it can be tolerated, but avoid any knots near the ends. The ends are slightly different anyway, but knots make it ultimately worse.
Another thing is to get the grain direction as tangential to the molding as possible. If the growth rings are parallel to the surface, you’ll get tearouts much more easily.
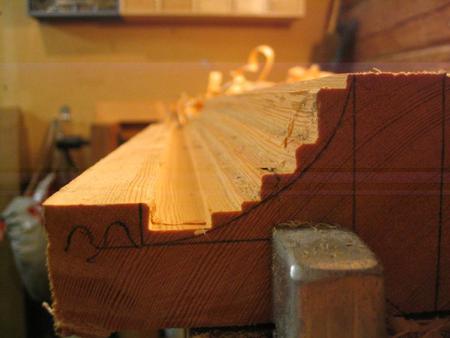
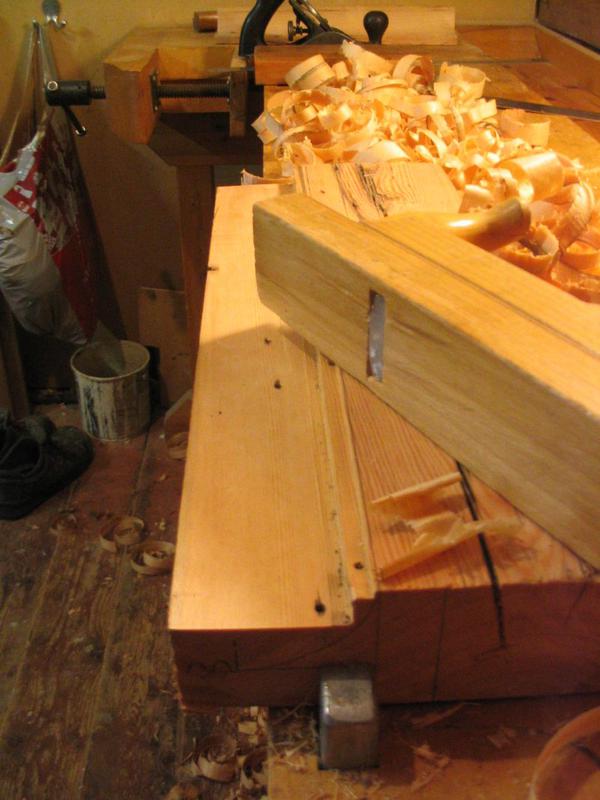
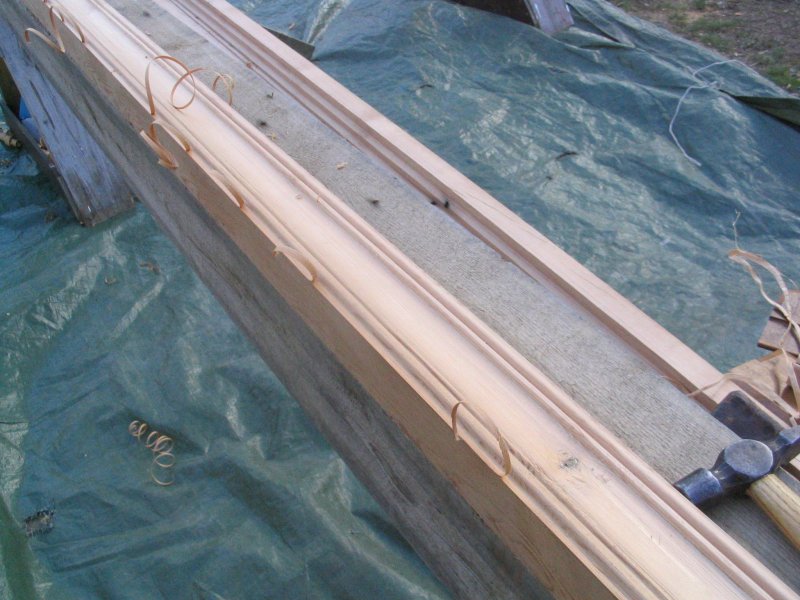
And then there is the dance. You’ll have to get your steps right in order to get the molding constant: you start from the farthest end of the molding. The force for planing comes from your feet as always, but you’ll have to take a small step back after each stroke. You can see the result from the picture below: there is a shaving sticking out on very uniform steps (except one that was cut off. On your way back to the farthest end you can take longer, thinner cuts to smooth the marks. It really feels like a dance after you’ve done it a couple of hours.

While I was at it, I did the moldings between the wall and the floor (another word that I don’t remember). Only an easy job with a #55.

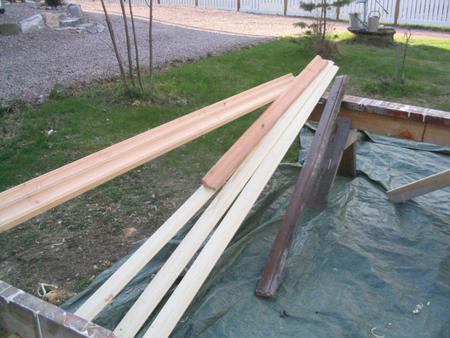
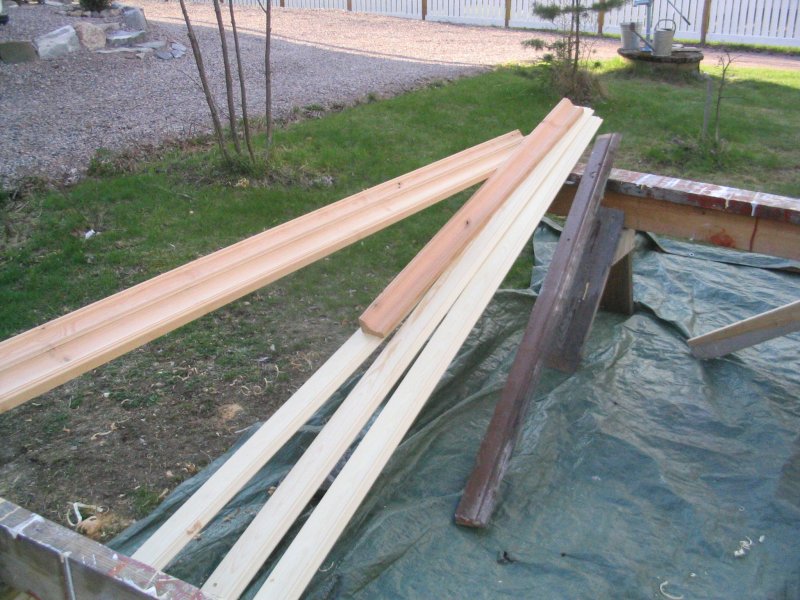
Here they are: the pile looks ridiculously small")
The whole process was strangely satisfying. Knowing that there aren’t that many people who would do the same, getting an idea of how it was done. And the rhythm of planing was almost hypnotizing, I bet there was some Zen involved in it.
Pekka
It is pretty difficult to get good enough timber anywhere, but I had some old roof beams available (you’ll see some more on the background). Cutting the planks with a chainsaw only proved to be too slow, so I run two cuts with a circular saw on both sides of the log and did the rest with the chainsaw. Apparently the chainsaw mills are better for green wood; this stuff was too hard for a 2000W Makita.
First I made one practice piece but wasn’t happy with it. It also involved repairing a molding plane. Time and effort was lost, but it’s better to try on a small scale. Practicing is also good for finding out the proper tools: it took 14 individual planes for the first try and only 7 for the final product.

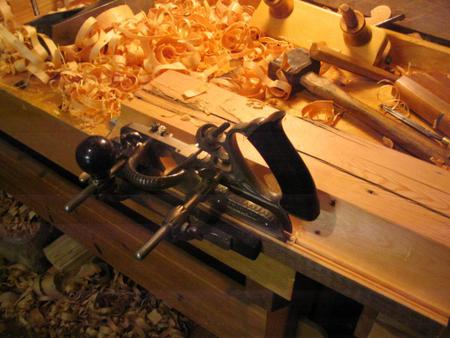
The second try was better.
A plow plane was used to reach the profile...
...and a wooden scrub to remove the excess.
A few passes more and we are close.

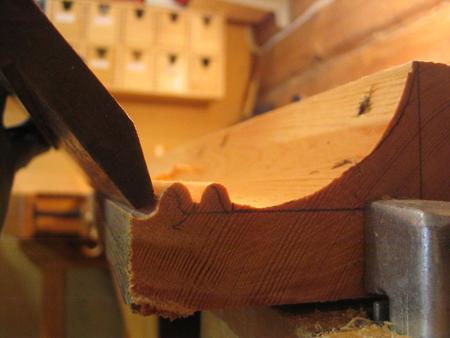
The curve comes with an appropriate round. I noted that although the form was OK for this plane, it was easy to smooth planing marks out with one number smaller round.
Instead of the original triple bead or reed I ended up with a double bead planed with a #45 combi.


The bottom of the molding was finished with a very small round and chamfered.

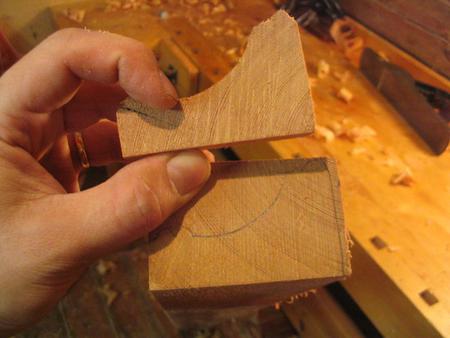
The finished test piece and the profile copied to the end of the first ”production model”. I cut a sample for the final molding in the middle of the test piece. About a foot from the end of the molding is always a bit different no matter how hard you try.
The first actual molding. I’m glad that I have two woodburning stoves in the house, I would be in trouble with all those shavings.
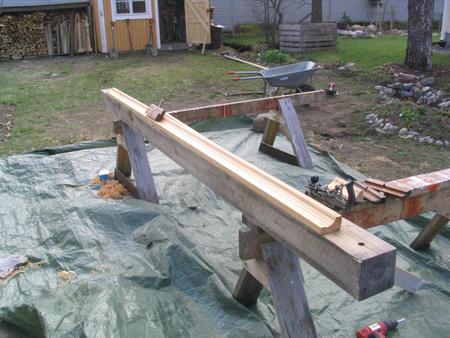
For mass production I used a circular saw, thought that I had enough practice with the plow already.

As my workshop is only about 8 feet across, I had to move outside for the longer pieces. I screwed a 6” beam to my build stands and screwed the moldings to that. As the ends of the moldings are more or less useless anyway, a few screw holes don’t matter and it’s much faster than fussing with clamps.

The round went up very nicely and the final molding was just as pretty as the previous, although I had my doubts that it might look a bit different because of the change from plow plane to circular saw.
There are only a few tricks in it. First is always stock selection. If there are any knots on the stock it can be tolerated, but avoid any knots near the ends. The ends are slightly different anyway, but knots make it ultimately worse.
Another thing is to get the grain direction as tangential to the molding as possible. If the growth rings are parallel to the surface, you’ll get tearouts much more easily.
And then there is the dance. You’ll have to get your steps right in order to get the molding constant: you start from the farthest end of the molding. The force for planing comes from your feet as always, but you’ll have to take a small step back after each stroke. You can see the result from the picture below: there is a shaving sticking out on very uniform steps (except one that was cut off. On your way back to the farthest end you can take longer, thinner cuts to smooth the marks. It really feels like a dance after you’ve done it a couple of hours.
While I was at it, I did the moldings between the wall and the floor (another word that I don’t remember). Only an easy job with a #55.

Here they are: the pile looks ridiculously small
The whole process was strangely satisfying. Knowing that there aren’t that many people who would do the same, getting an idea of how it was done. And the rhythm of planing was almost hypnotizing, I bet there was some Zen involved in it.
Pekka